Free Shipping • 30-Day Returns • Secure Checkout
Sandpaper Grit Guide
Choosing the right grit sandpaper depends on the job, the surface, and the finish you want. Start coarse for heavy removal and move finer for smoother results.
What Grit Should I Use?
Heavy Removal
If you need to remove material fast...
Start with a lower grit.
Smooth Finish
If you want a smoother finish...
Move to a higher grit.
"A simple rule is to start coarse and work your way finer until you reach the surface quality you want."
What Grit Should I Use?
Use this grit chart to compare coarse, medium, fine, and ultra-fine sanding steps.

|
Grit Range |
Best For |
Result |
|---|---|---|
|
40–60 |
Heavy removal, rough shaping, stripping paint or varnish |
Very aggressive |
|
60–80 |
Rough sanding, leveling uneven areas, removing deep marks |
Aggressive |
|
100–120 |
General sanding, initial prep, removing lighter scratches |
Balanced cut |
|
240–320 |
Fine finishing, blending edges, sanding sealer, pre-finish prep |
Smooth finish |
|
400–600 |
Between coats, final sanding before paint or stain, clear coat prep |
Very smooth |
|
800–1200 |
Ultra-fine finishing, wet sanding, polishing prep |
Extra smooth |
|
1500–2000 |
Final polishing prep, delicate finishing, scratch refinement |
Ultra-smooth |
How to Choose the Right Grit Sandpaper
The best way to choose grit is to match the sanding stage to the surface condition and the finish you want.
Coarse Grit: 40–80
Use coarse grit for heavy sanding jobs such as paint stripping, rough shaping, leveling high spots, removing rust, and flattening uneven surfaces.
Use coarse grit for heavy sanding jobs such as paint stripping, rough shaping, leveling high spots, removing rust, and flattening uneven surfaces.
Common Uses
- Removing old paint or varnish
- Leveling rough lumber
- Shaping body filler
- Removing rust and oxidation
- Flattening uneven areas
Medium Grit: 100–180
Use medium grit for general sanding, smoothing tool marks, preparing bare wood, and getting surfaces ready for primer or further finishing.
This range is one of the most useful for everyday sanding tasks.
Common Uses
- Smoothing saw marks
- Preparing bare wood
- Leveling patch repairs
- Primer prep
- General sanding between stages
Fine Grit: 240–600
Use fine grit for smoothing surfaces before paint, stain, or varnish. It is also a good choice for sanding sealer, blending edges, and sanding between coats.
If you want a clean, smooth surface without deep scratches, this is the range to choose.
Common Uses
- Pre-finish sanding
- Sanding sealer
- Blending edges
- Sanding between coats
- Final surface prep before paint or stain
Ultra-Fine Grit: 800–2000
Use ultra-fine grit for delicate finishing, wet sanding, scratch refinement, and polishing prep.
This range is ideal when the surface is already smooth and you want the final finish to look cleaner and more refined.
Common Uses
- Wet sanding
- Scratch refinement
- Final polishing prep
- Delicate finishing
- Ultra-smooth surface prep
What Grit Sandpaper to Use by Project
Different projects need different grit ranges. Here’s a simple way to choose based on the job.
Woodworking
For woodworking, start with a lower grit if the surface is rough or uneven, then move to a medium grit for general sanding.
Common Uses
Rough wood
60–80 grit
General sanding
100–180 grit
Fine finishing
240–400 grit
Between coats
400–600 grit
Common Uses
- Removing mill marks
- Smoothing edges
- Preparing bare wood
- Sanding between coats
Auto Body
For auto body work, use coarser grit for filler sanding and shaping, then move to medium grit for primer prep.
Common Uses
Filler sanding
80–120 grit
Primer prep
180–240 grit
Paint prep
240–400 grit
Final smoothing
400–600 grit
Common Uses
- Sanding body filler
- Removing shallow scratches
- Shaping repairs
- Preparing primer
Metalworking
For metalworking, choose a grit based on how much material you need to remove and how smooth you want it.
Common Uses
Heavy prep
40–80 grit
General prep
100–180 grit
Fine smoothing
240–400 grit
Common Uses
- Removing rust
- Deburring edges
- Surface cleaning
- Light smoothing
DIY & Home
For DIY sanding, a medium grit is often the best starting point, then move finer depending on the finish.
Common Uses
Basic prep
100–180 grit
Surface smoothing
240–400 grit
Final finish
400–600 grit
Common Uses
- Paint prep
- Wall patch smoothing
- Furniture touch-up
- General home sanding
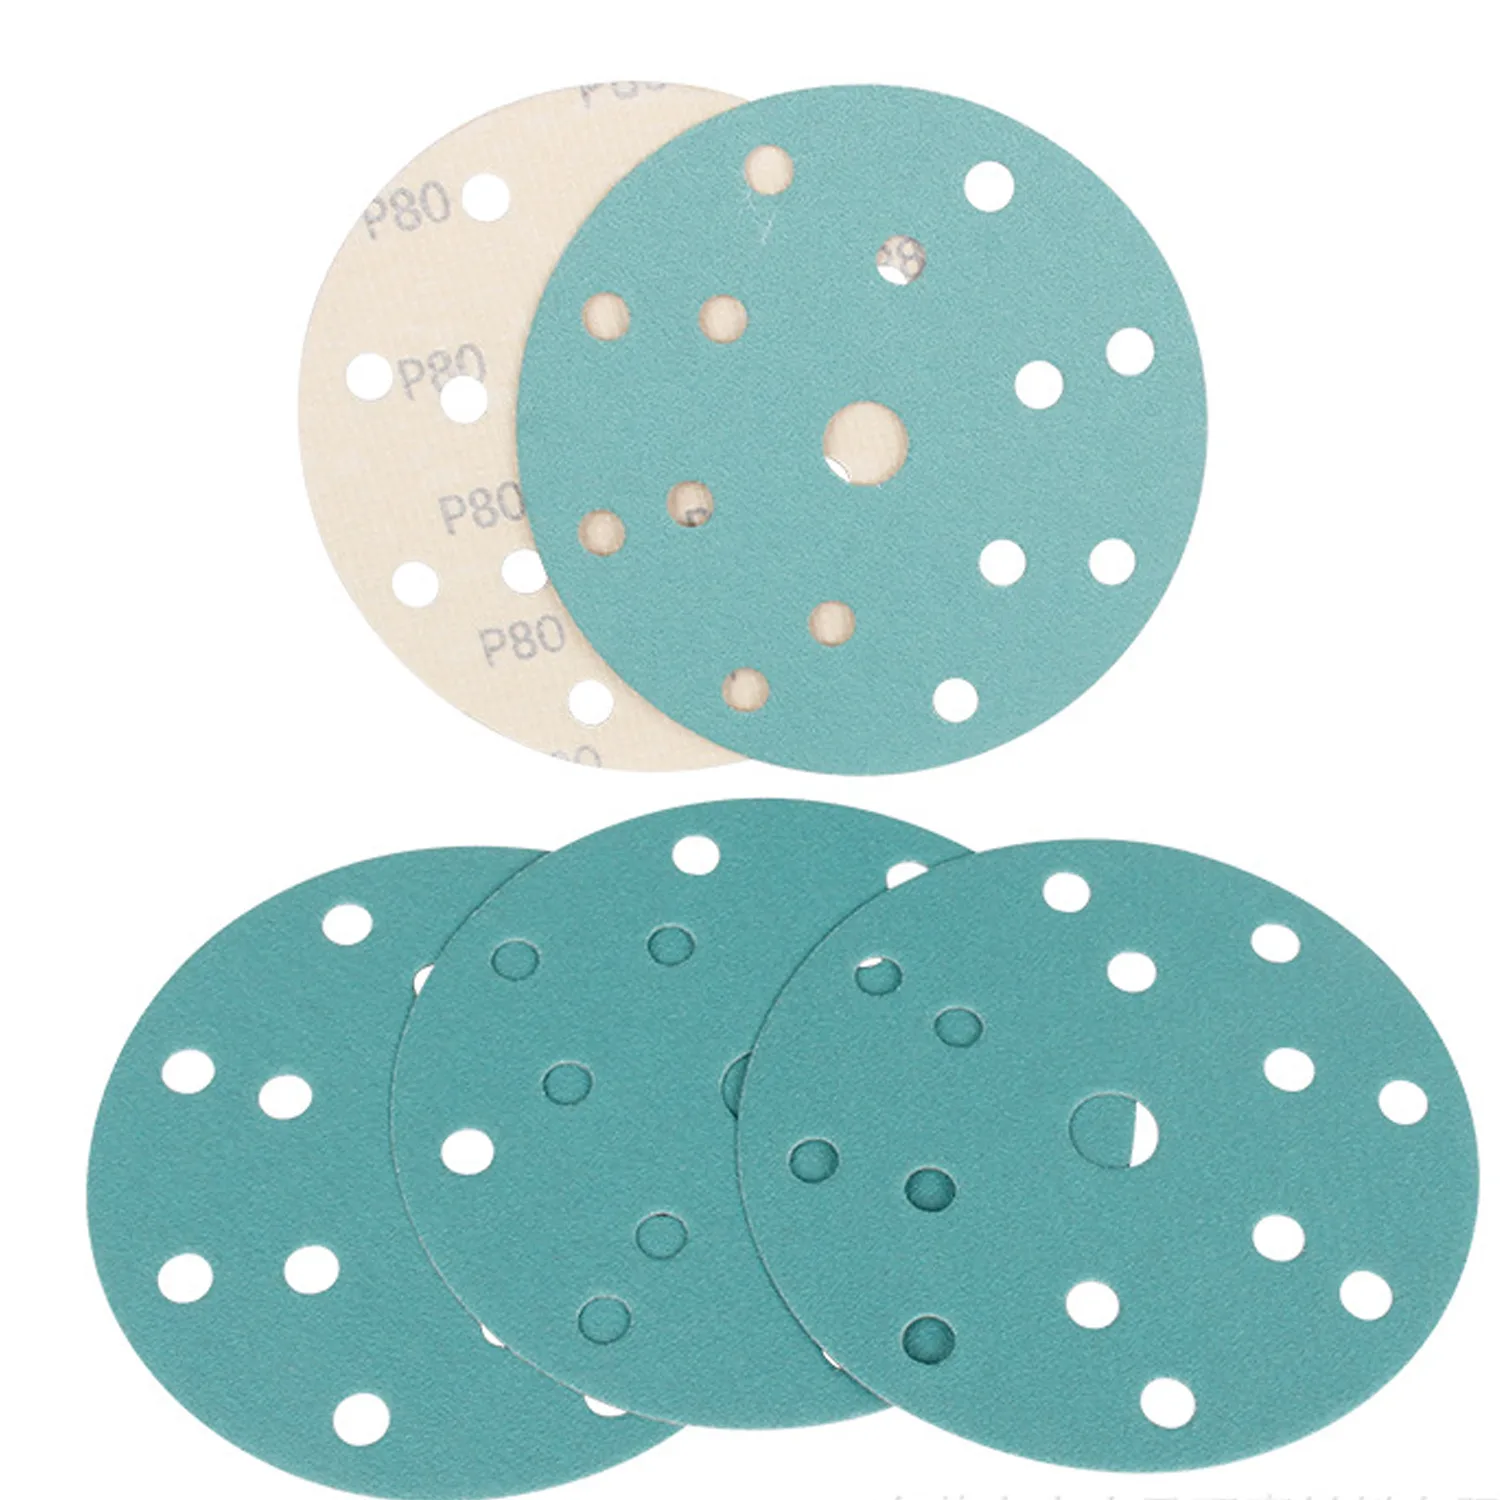
Which Sanding Disc Type Should You Choose
Once you know your grit range, choose the disc type that fits your sanding job best.
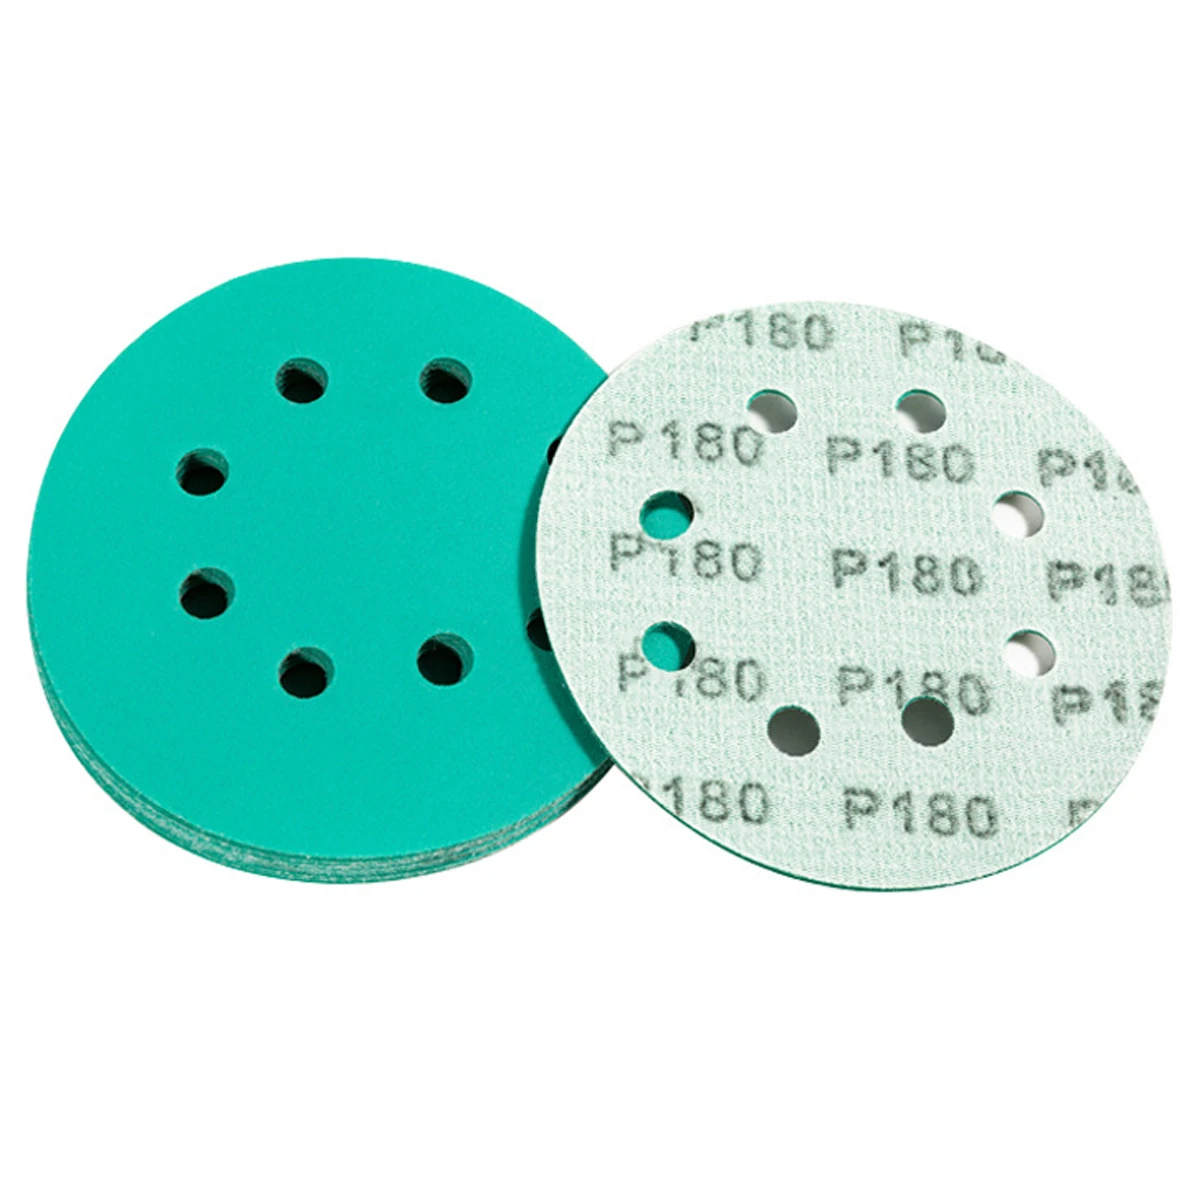
Film Sanding Discs
Best for smooth finishing, scratch-free results, and consistent surface quality.
If you want a clean, smooth surface without deep scratches, this is the range to choose.
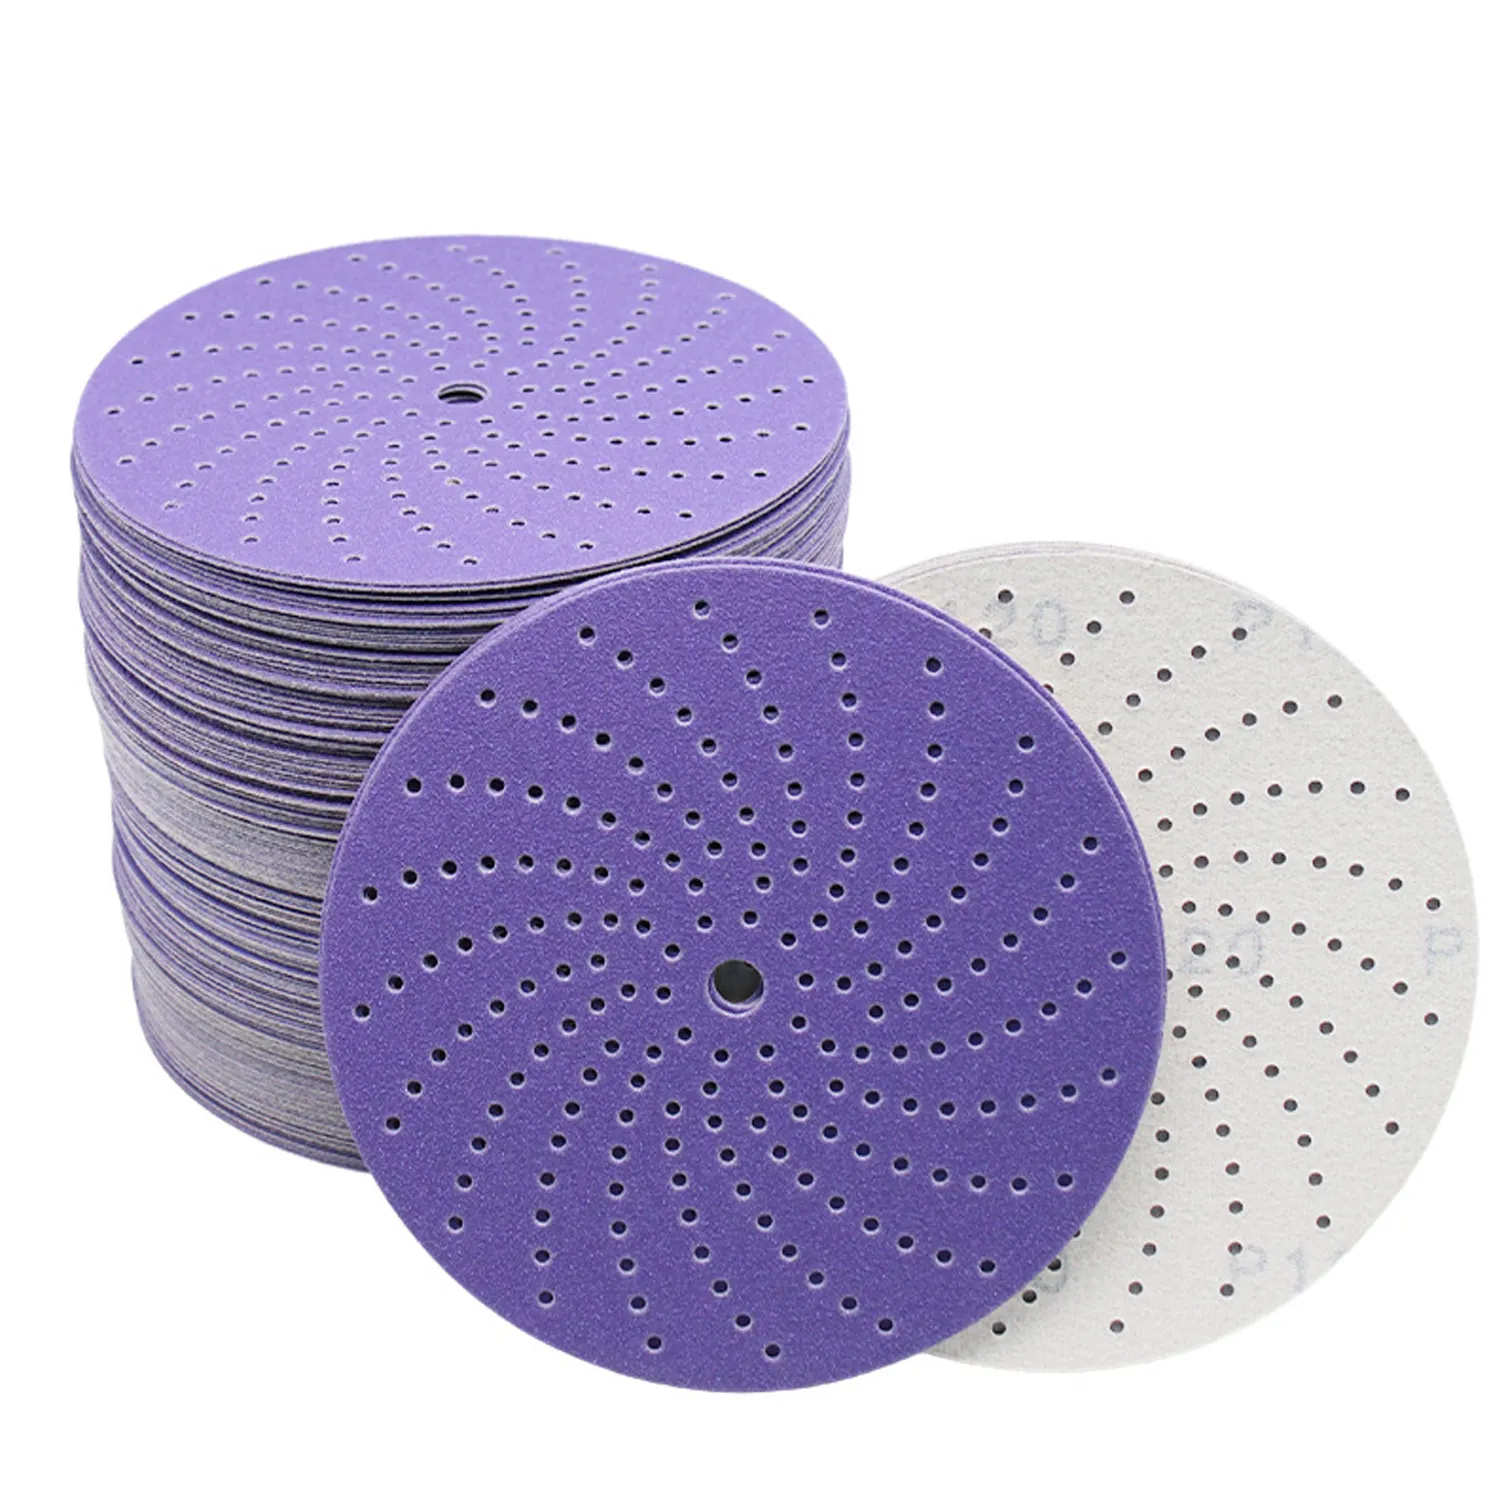
Ceramic Sanding Discs
Best for aggressive cutting, heavy material removal, and long service life.
If you want a clean, smooth surface without deep scratches, this is the range to choose.
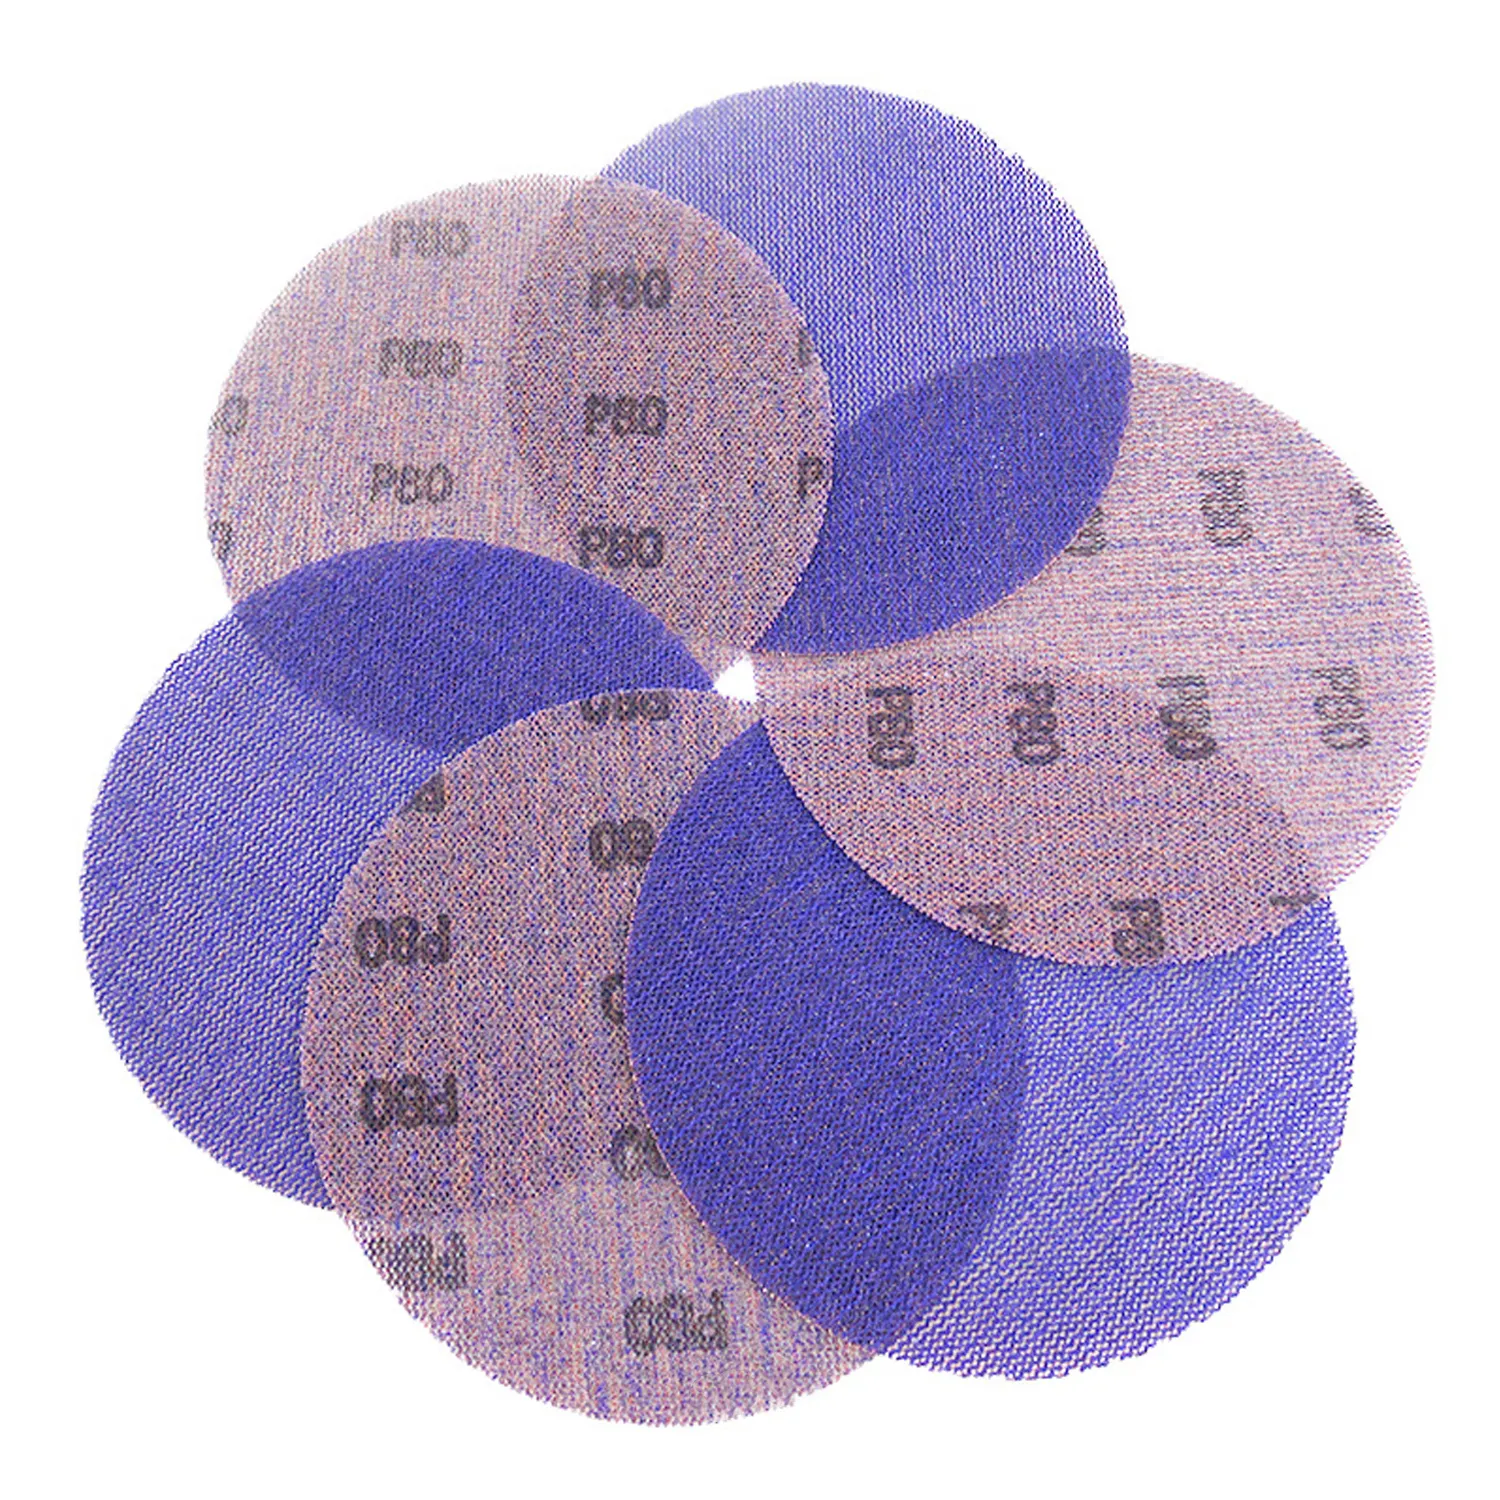
Mesh Sanding Discs
Best for dust extraction, reduced clogging, and cleaner sanding.
Use mesh discs when dust control and non-clogging performance are especially important.
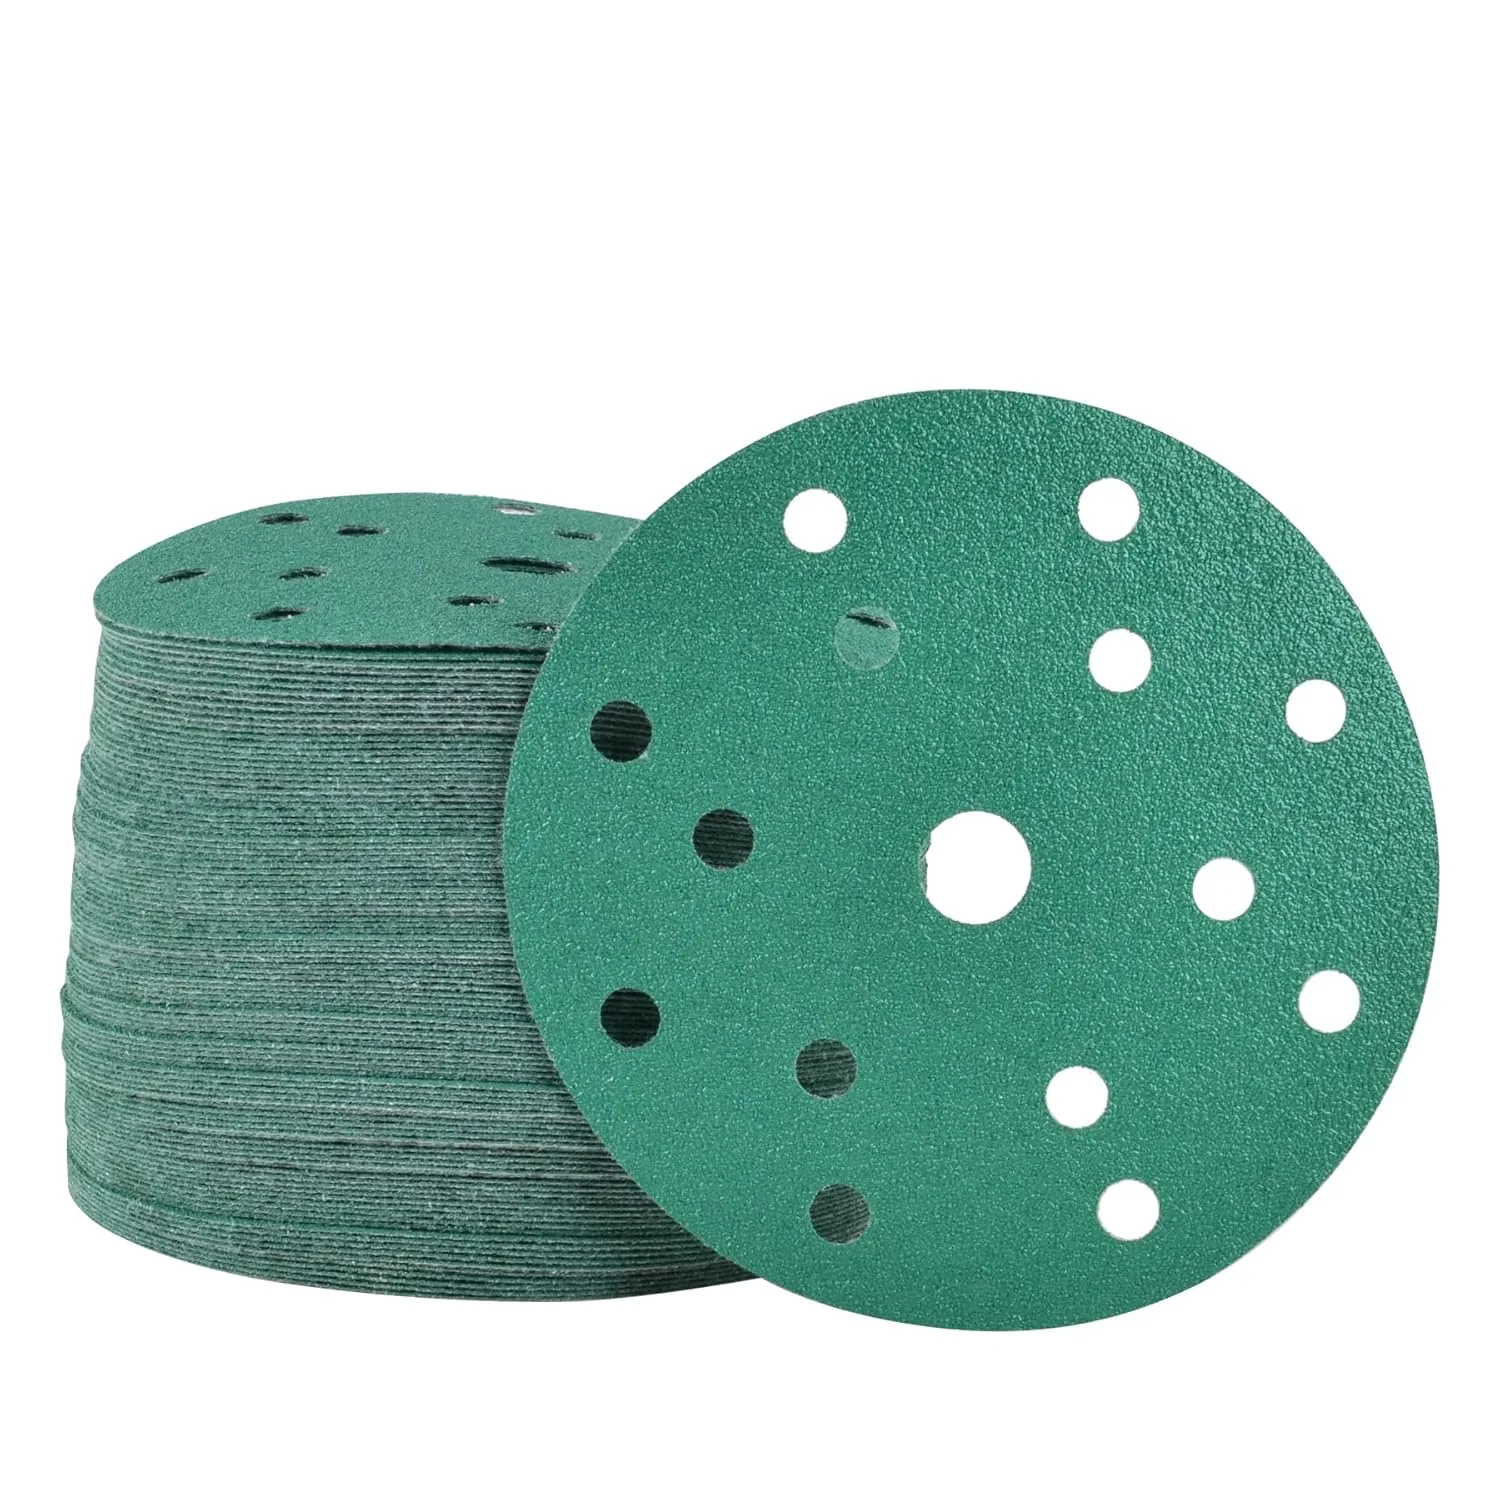
Will These Fit My Sander?
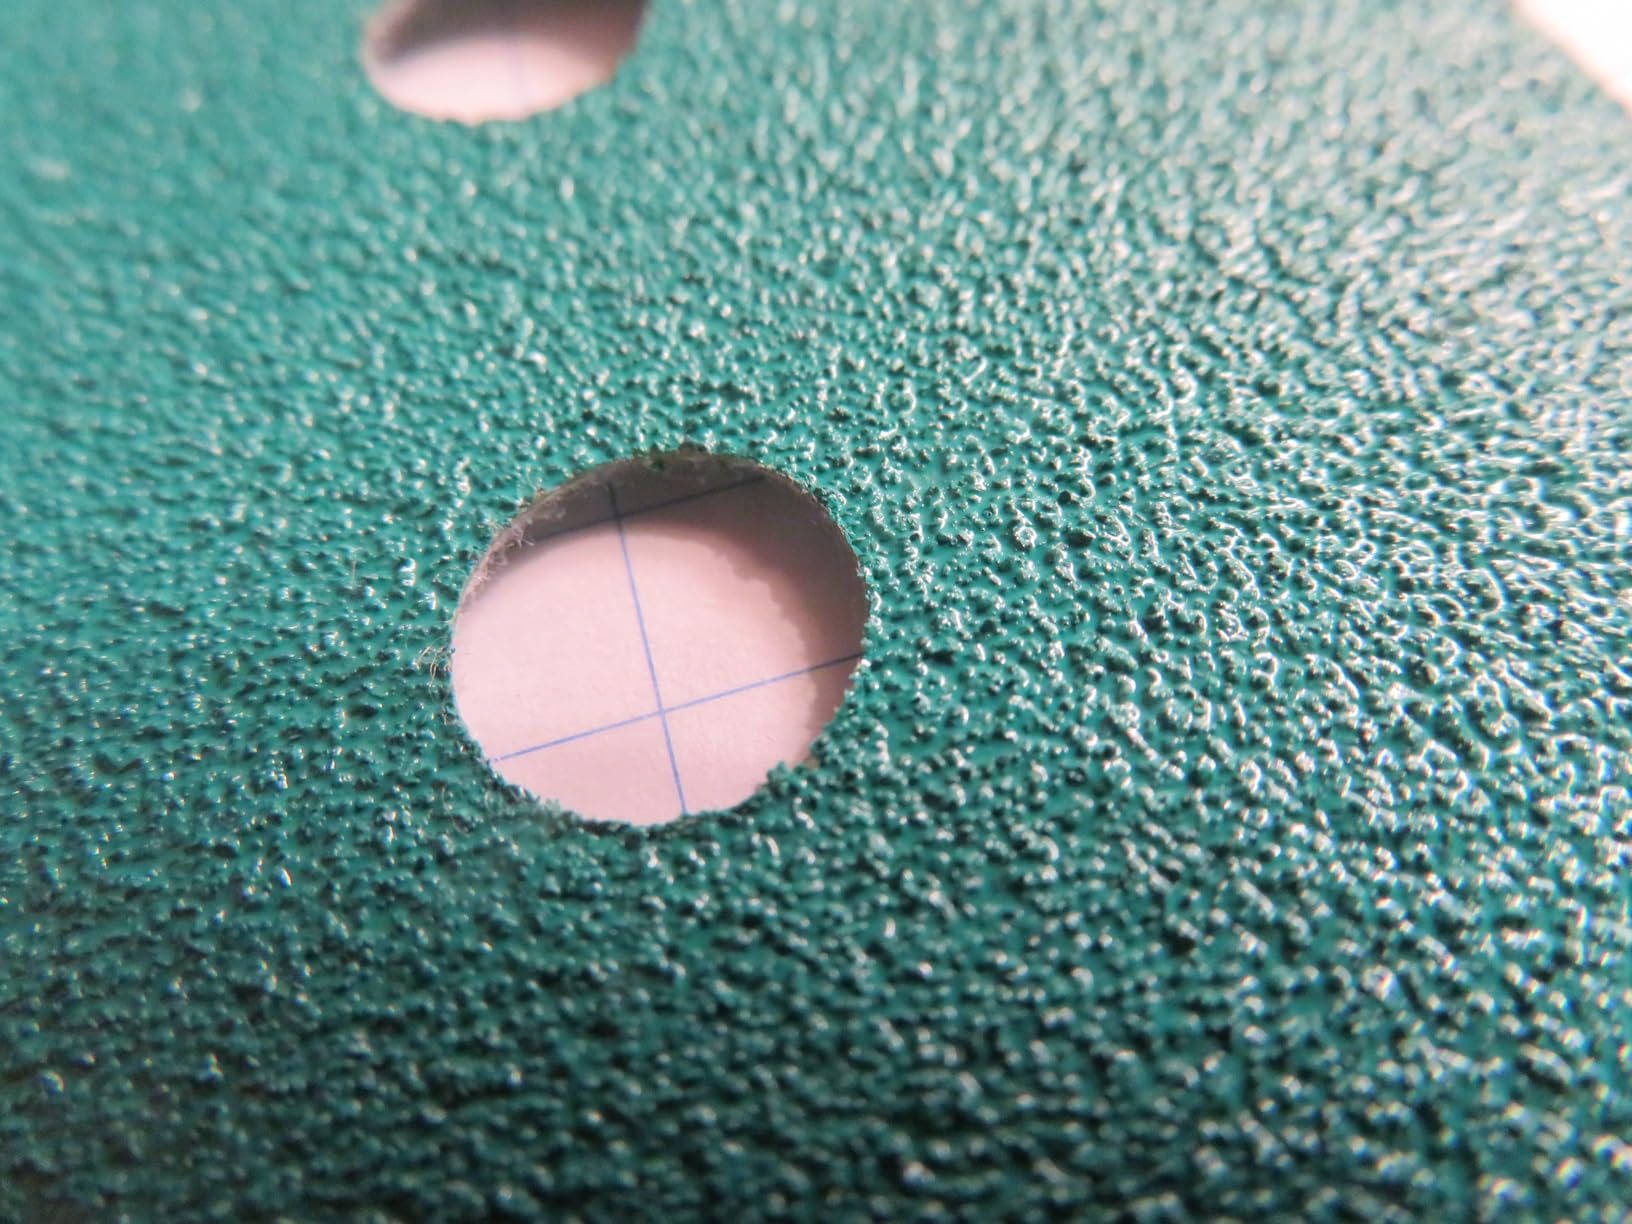
Our sanding discs are designed for most 5-inch and 6-inch random orbital sanders. For the best fit and dust collection, make sure the disc size, hole pattern, and backing type match your sander.
Size
Available in 5-inch or 6-inch diameters to match your sander's pad.
Hole Pattern
Match the holes on your backing pad for efficient dust extraction.
Backing Type
Universal hook & loop pad compatibility for quick changes.
Need to Try More Than One Grit?
If you are not sure which grit to choose, start with a mixed grit option where available. It lets you test multiple sanding steps before buying full 50-pack boxes.
Frequently Asked Questions
What grit sandpaper should I start with?
Start with a lower grit (coarse) to remove material quickly. Move to a higher grit (fine) when you want a smoother finish.
What is the difference between coarse and fine grit?
Coarse grit (40-80) removes material faster and leaves a rougher surface. Fine grit (240+) removes less material and creates a smoother finish.
What grit sandpaper is best for wood finishing?
For wood finishing, 240–400 grit is commonly used before applying stain, paint, or varnish for a professional feel.
What grit should I use before painting?
Use 100–180 grit for general surface preparation, followed by 240–320 grit if you want an ultra-smooth base.
What grit sandpaper is best for auto body work?
For auto body work, 80–120 grit is used for filler sanding, while 180–240 grit is typical for primer preparation.
What grit is best for metal?
For metal, start with 40–80 grit for heavy preparation or rust removal, then move to finer grit (120-400) for smoothing.
Do you offer mixed grit options?
Yes! Where available, mixed grit options can be selected directly on the product page, perfect for small projects or first-time users.